Setting Up Your First Node.js Application Step-by-Step
Learn how to install Node.js, use the REPL, run your first script, and write a Hello World HTTP server from scratch. A beginner-friendly, framework-free guide.
Node.js lets you run JavaScript outside the browser, on your own machine or a server. This guide walks through installation, your first script, the REPL, and a working HTTP server, with no frameworks involved.
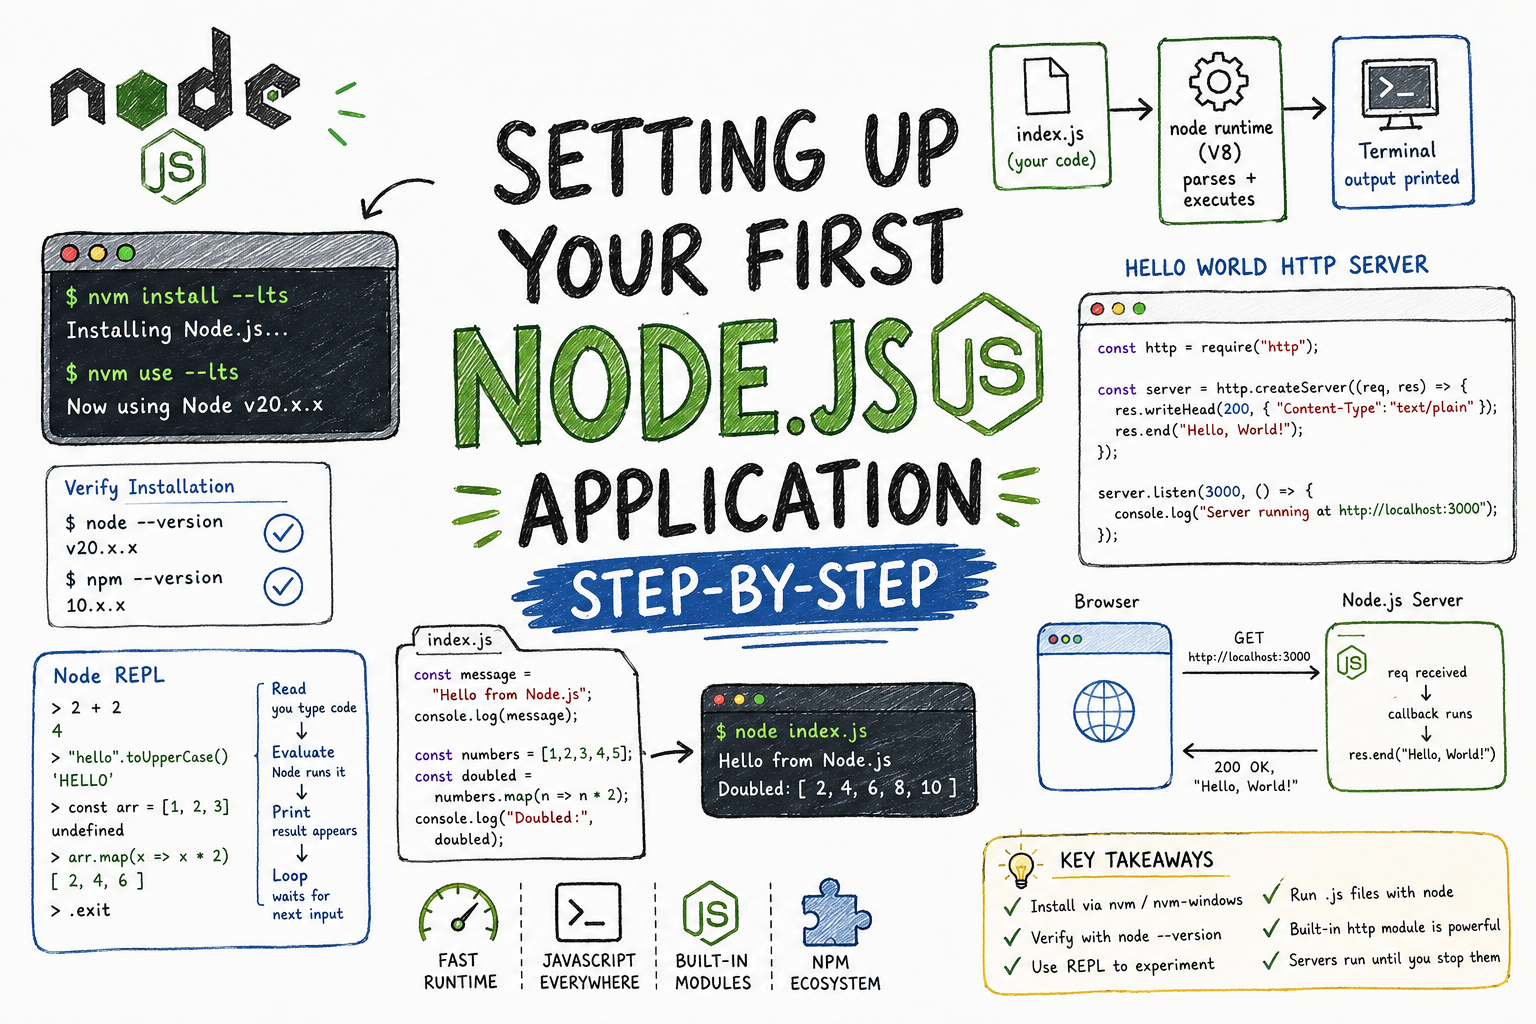
JavaScript lived in the browser for most of its life. It needed a webpage to run, a browser to execute it. Node.js changed that. It took the V8 engine that Chrome uses to run JavaScript and made it available as a standalone runtime. You can now run .js files the same way you'd run a Python or Ruby script: directly from your terminal.
Installing Node.js
The recommended way to install Node.js is through a version manager. It lets you switch between versions easily and avoids permission issues that come with installing Node.js globally via the official installer.
nvm (Node Version Manager) is the standard choice on macOS and Linux:
# Install nvm (check https://github.com/nvm-sh/nvm for the latest command)
curl -o- https://raw.githubusercontent.com/nvm-sh/nvm/v0.39.7/install.sh | bash

# Install the latest LTS version of Node.js
nvm install --lts

# Use it
nvm use --lts
On Windows, use nvm-windows, which works the same way but is a separate project built for the Windows environment.
If you prefer a direct install, download the LTS (Long Term Support) version from nodejs.org. LTS is the stable release. Avoid "Current" unless you specifically need the latest features.
Verifying the Installation
Open a new terminal window (the version manager needs a fresh shell to be on your PATH):
node --version
# v20.x.x

npm --version
# 10.x.x
You get two things when you install Node.js: the node runtime itself and npm, the package manager. Both should show version numbers. If you see "command not found," restart your terminal or check that your version manager initialized correctly in your shell's config file (.bashrc, .zshrc, config.fish, etc.).
The Node REPL
Before writing files, it helps to understand the REPL. REPL stands for Read, Evaluate, Print, Loop. It's an interactive shell that reads a line of JavaScript, evaluates it, prints the result, and loops back waiting for the next input.
┌──────────────────────────────────┐
│            Node REPL             │
│                                  │
│  Read    ← you type code         │
│  Evaluate ← Node runs it         │
│  Print   ← result appears        │
│  Loop    ← waits for next input  │
└──────────────────────────────────┘
Start it by typing node with no arguments:
nodeYou'll see a > prompt. Try some JavaScript:
> 2 + 2
4
> "hello".toUpperCase()
'HELLO'
> const arr = [1, 2, 3]
undefined
> arr.map(x => x * 2)
[ 2, 4, 6 ]
The REPL is useful for quickly testing a piece of logic without creating a file. Exit with .exit or Ctrl + C twice.
Creating Your First JavaScript File
Make a directory for your project and create a file:
mkdir my-first-node-app
cd my-first-node-app
touch index.js
Open index.js in your editor and write:
// index.js
const message = "Hello from Node.js";
console.log(message);

const numbers = [1, 2, 3, 4, 5];
const doubled = numbers.map((n) => n * 2);
console.log("Doubled:", doubled);
Running Your Script
node index.jsHello from Node.js
Doubled: [ 2, 4, 6, 8, 10 ]That's it. Node.js reads the file, executes it top-to-bottom, and exits. No browser, no HTML.
┌─────────────┐     ┌────────────────────┐     ┌─────────────────┐
│  index.js   │────►│  node runtime (V8) │────►│  Terminal       │
│  (your code)│     │  parses + executes │     │  output printed │
└─────────────┘     └────────────────────┘     └─────────────────┘
Node.js doesn't need a webpage, a browser, or a framework. It's just your file and the runtime.
Writing a Hello World HTTP Server
Node.js ships with a built-in http module. No installation needed, no Express. This is as close to the metal as it gets:
// server.js
const http = require("http");

const server = http.createServer((req, res) => {
  res.writeHead(200, { "Content-Type": "text/plain" });
  res.end("Hello, World!");
});

server.listen(3000, () => {
  console.log("Server running at http://localhost:3000");
});
Run it:
node server.js
# Server running at http://localhost:3000
Open your browser and visit http://localhost:3000. You'll see "Hello, World!" as plain text.
Here's what each piece does:
http.createServer()takes a callback that fires on every incoming request. It receives a request object (req) and a response object (res).res.writeHead(200, {...})sets the HTTP status code and headers.res.end()sends the response body and closes the connection.server.listen(3000)tells Node to start accepting connections on port 3000.
Browser                     Node.js Server
  │                              │
  │  GET http://localhost:3000   │
  │─────────────────────────────►│
  │                              │  req received
  │                              │  callback runs
  │                              │  res.end("Hello, World!")
  │  200 OK, "Hello, World!"     │
  │◄─────────────────────────────│
Unlike node index.js, this process stays running. It doesn't exit after the first request. It sits there, listening, handling any request that comes in. To stop it, press Ctrl + C.
What require Is
You'll notice const http = require('http'). This is CommonJS module syntax, the original way Node.js loads code. require('http') loads a built-in Node.js module. require('./utils') would load a local file. When you start using npm packages, it's still require('package-name') (or import if you use ESM).
You'll see import syntax in modern Node.js projects too, but require is what you'll encounter in most beginner examples, and it's worth knowing both exist.
Key Takeaways
- Install Node.js via nvm or nvm-windows for flexibility. Pick the LTS version.
node --versionandnpm --versionconfirm a working installation.- The REPL is a fast scratch pad: type
nodein your terminal and start experimenting. - Run any
.jsfile withnode filename.js. Node executes it top-to-bottom and exits. - The built-in
httpmodule is enough to create a working web server. You don't need Express to get started. - Servers keep running until you stop them. Scripts exit when they finish.
This is the foundation everything else builds on. Frameworks like Express.js are just abstractions over this same http module. Understanding what's underneath makes the framework click faster when you get there.